
6in x 23in - .060, Surface mounted anodized aluminum kick plate (152.4mm x 584.2mm)
Use construction adhesive for standard installation. Available pre-drilled or pre-drilled and countersunk for use with mechanical fasteners. Custom sizes are available.
Materials:
- Anodized Aluminum: Type 5052, .060 gauge, with a #4 satin finish.
- Adhesive: Polyurethane based construction adhesive
Documentation
- Drawing (712k)
- Suggested Specifications.pdf (243k)
- KickPlate Installation.pdf (68k)
- Kickplate Care & Cleaning.pdf (69k)
- TheKickPlateStore Warranty.pdf (69k)
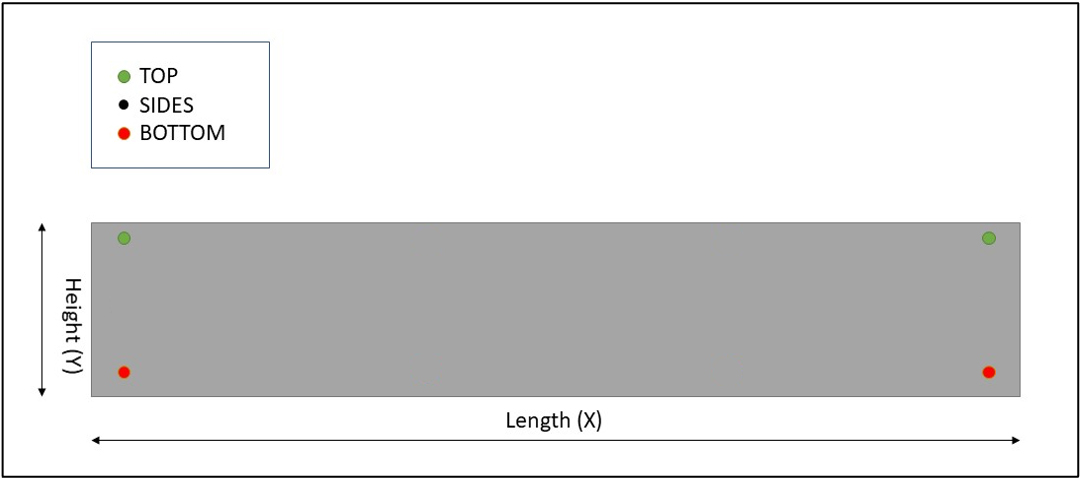
Optional Standard Hole Pattern
Number of Holes: 4: 2 on Top, 2 on the Bottom
NOTE: Interior & Exterior Use
- The materials specified for interior use: Brass, Vinyl, Polycarbonate, and Un-Anodized Aluminum, are not designed or warranted for exterior applications.
- Only Stainless Steel, Diamond Plate, and Anodized Aluminum are recommended for both indoor and outdoor use, as they are engineered to withstand external environmental conditions.
- Improper use of interior-grade materials in exterior settings may result in premature wear, damage, or failure.
-
Description
6in x 23in - .060, Surface mounted anodized aluminum kick plate (152.4mm x 584.2mm)
Use construction adhesive for standard installation. Available pre-drilled or pre-drilled and countersunk for use with mechanical fasteners. Custom sizes are available.
Materials:
- Anodized Aluminum: Type 5052, .060 gauge, with a #4 satin finish.
- Adhesive: Polyurethane based construction adhesive
Documentation
- Drawing (712k)
- Suggested Specifications.pdf (243k)
- KickPlate Installation.pdf (68k)
- Kickplate Care & Cleaning.pdf (69k)
- TheKickPlateStore Warranty.pdf (69k)
Optional Standard Hole Pattern
Number of Holes: 4: 2 on Top, 2 on the Bottom
NOTE: Interior & Exterior Use
- The materials specified for interior use: Brass, Vinyl, Polycarbonate, and Un-Anodized Aluminum, are not designed or warranted for exterior applications.
- Only Stainless Steel, Diamond Plate, and Anodized Aluminum are recommended for both indoor and outdoor use, as they are engineered to withstand external environmental conditions.
- Improper use of interior-grade materials in exterior settings may result in premature wear, damage, or failure.


